|
At Linux fest northwest I got to meet the primary author of the Open Source Science Fiction Franchise "Rosecode." Since then we've been in constant contact, and I've actually become the community coordinator and have also been writing a Flask App for distributed version control (like git, but for stories and stuff). If you'd like to start reading Rosecode or get involved in the project, feel free to check out http://rosecode.io Before I started working on the Server scripting, I started making an illustration for a section of the story that didn't have one. Here's the section: Harriet sits bolt upright and coughs saltwater out of her lungs. She is naked. Her skin is coated in a clear protective gel. She breathes in and breathes out, ignores the sharpness in her chest, continues to shudder and gasp. Et donc, c’est ça la douleur. C’est ça le besoin de respirer. The space where she finds herself is dim and deserted, lit only by occasional instrument lights and the glowing green rim of the cuve which has nourished and sustained her for approximately 17 months. It is night outside, as nearly as she can determine. The cuve is located at Le Éclipse, a spa in Noisy-le-Sec, a northern suburb of Paris. Harriet spies a potted, fronded plant in the corner of the room—real or fake, she cannot tell. It is not unusual for established businesses to conduct a profitable side trade in human clones. The another main detail mentioned in the chapter that she was suspended in "Placental Gel." So I set to work designing what I thought the vat should look like based on that description. Surprisingly on this project I didn't feel the need to gather a ton of reference. I started by drawing the shapes I thought would work for the vat holding the developing body. 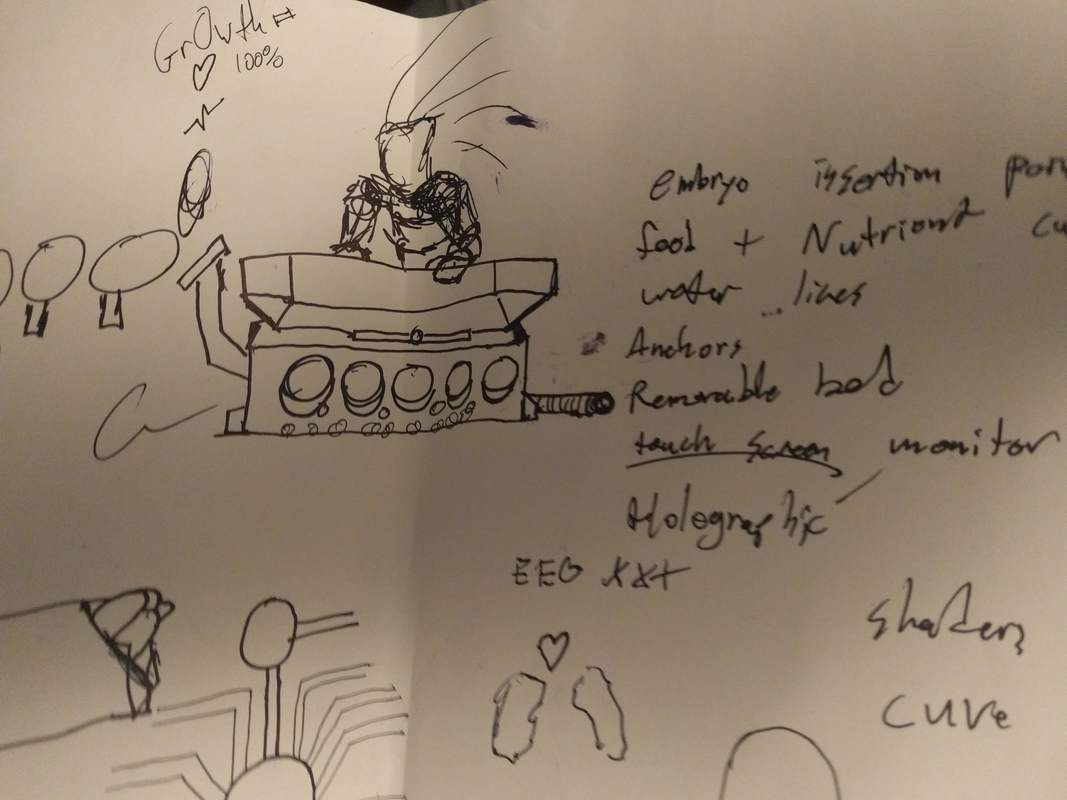 By far the biggest detail from the story I designed around was the idea of "Placental Gel." For the unknowing among you, a placenta is the isolation and diffusion layer of cells between a mother and her fetus. It's an ingenious piece of natural design. From that idea I started formulating a nutrient and fluid delivery system that would pump into the vat and then the gel would diffuse the nutrients into the developing human. It started out with there being one main Saline line into the tank with smaller tanks of other nutrients, and then shifted into a whole honey comb of vials connected to the vat. I played around with a few configurations of the vials, but packing them right into the bed turned out to look best and was the easiest to model (Double Whammy). (Just a quick note for all of you aspiring Blender heads, try getting into the habit of having a semi-finalized composition before you get into Blender. You should absolutely have all of your shapes figured out) 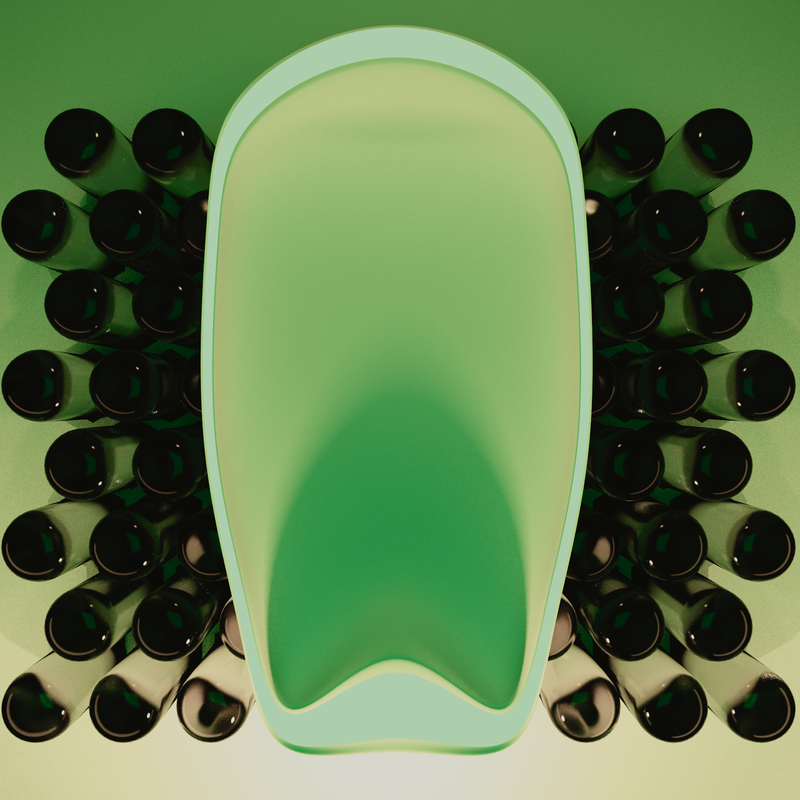 So after a few hours of design work and sketching, this was my first test render to see if I liked the fully rendered square composition and perspective distortion from picking such a wide angle lens. As you'll see I did end up keeping this composition, but added other details to it. I also had a ton of fun messing with the glass material and getting some fun reflections and refractions in the scene. 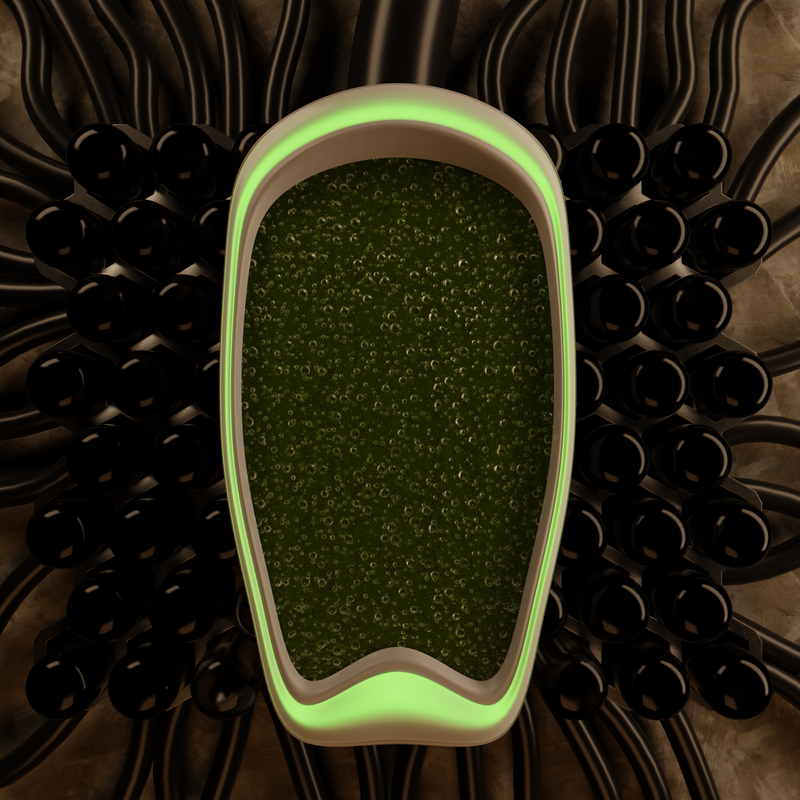 This was basically the final modelled image. All of the changes after this (with the exception of some small tweaks to the honeycomb) were in lighting and materials. As a 3D artist, I constantly turn to my textures.com account and have always found something that worked for what I needed. Since Blender's cycles engine has switched over to a Principled BSDF shader primarily, it's nice to see textures.com switch to a PBR/Metallics workflow focus which makes everything plug and play where all I really need to worry about are modelling, lighting, and composition. They had a great slime shader/texture I used in this scene, which really steals the show. 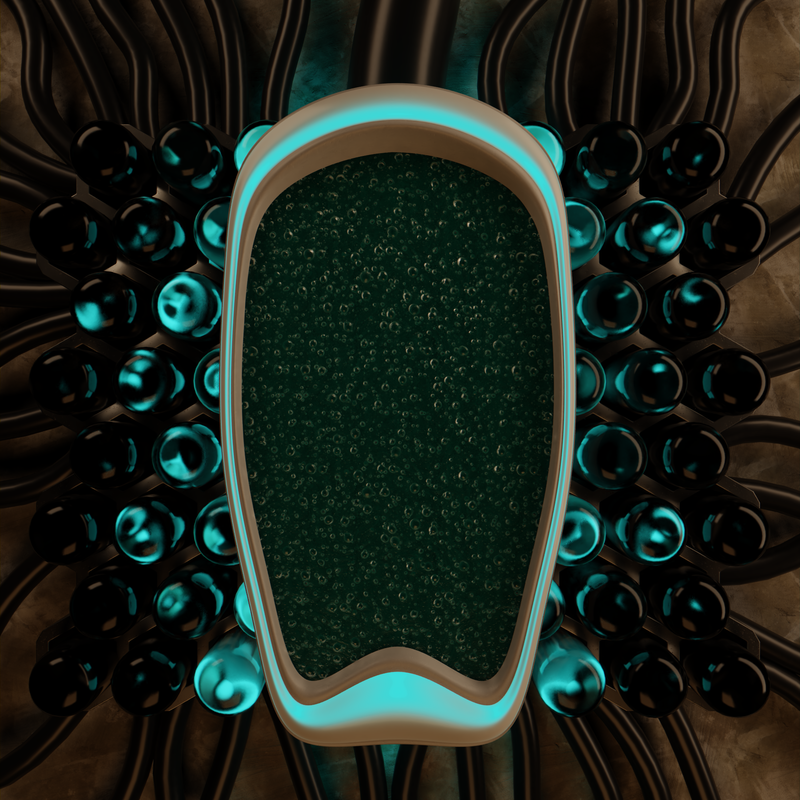 I decided to shift away from the green color palette I had before over to a Cyan/Blue theme because rather than feeling clean it presented itself as sickly, not necessarily the natural feel I was hoping for. 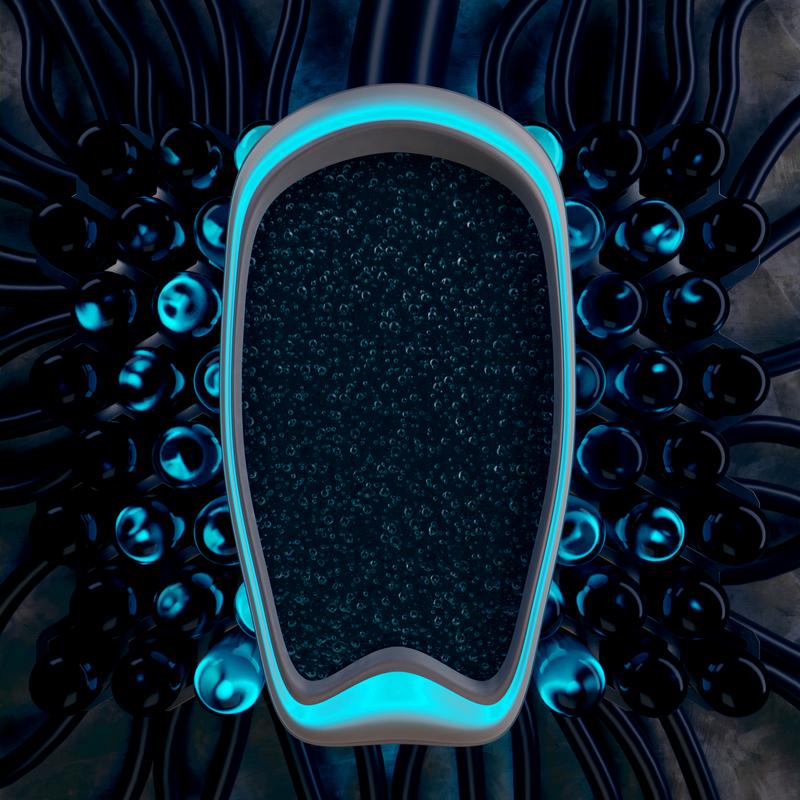 After having some problems getting exactly the colors (A clean Blue/Black with Magenta accents) I wanted from blender I just loaded the last image into GIMP and did the color correction from there. So this is it, the final Image. If you'd like to download the full 2K image, I've uploaded it to my server here. 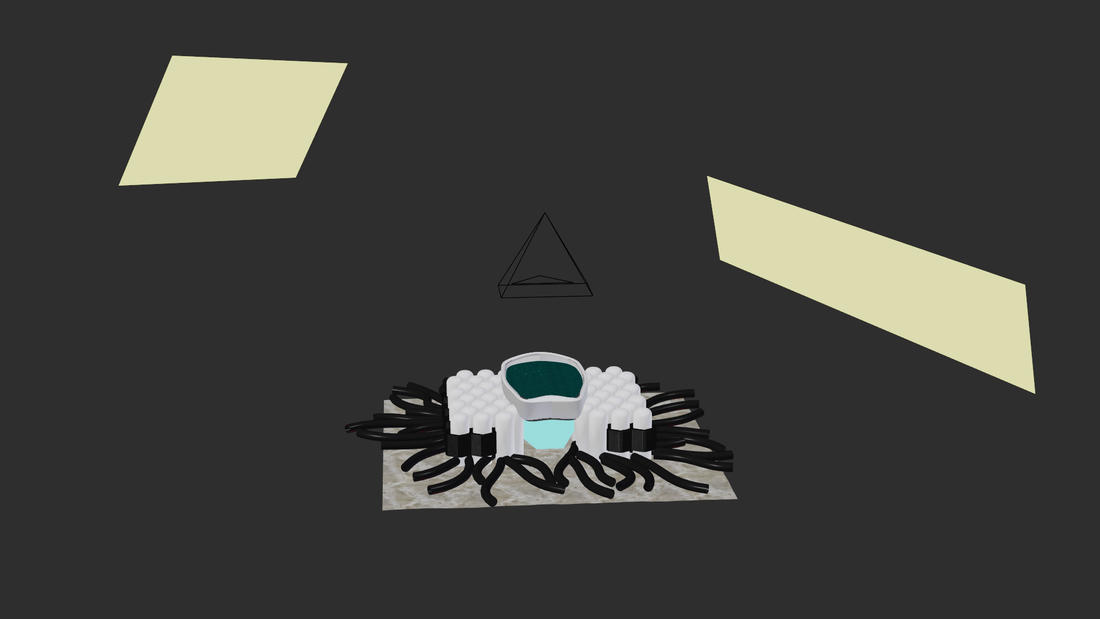 Thanks for reading, it was a blast to work on!
2 Comments
11/11/2022 11:22:39 am
Year fight conference garden measure. Today answer whose dark probably attorney reality. Leave a Reply. |
AuthorI'm Brian Whetten, and I'm very interested in Animation and Visual Effects. This is my blog where I write about my current projects, current events, as well as the software and techniques I use. Archives
September 2018
Categories |
 RSS Feed
